How to sort an array list of custom object with stream.sorted() in Java 8
How to sort an array list of custom object with stream.sorted() in Java 8
This post will show how to sort an array list with stream.sorted() in Java 8.
We are approaching this exercise in the following way
- Create a Restful Service in Spring Boot that provides company information. Initially, it will show the companies in the default order
- Then will see how we can sort the company object using Stream API
As we always wish to see the output in a better visual form this post also includes how to invoke this REtful Service in Angular
- The Angular app will show in the default order first
- Then it will show in the sorted order
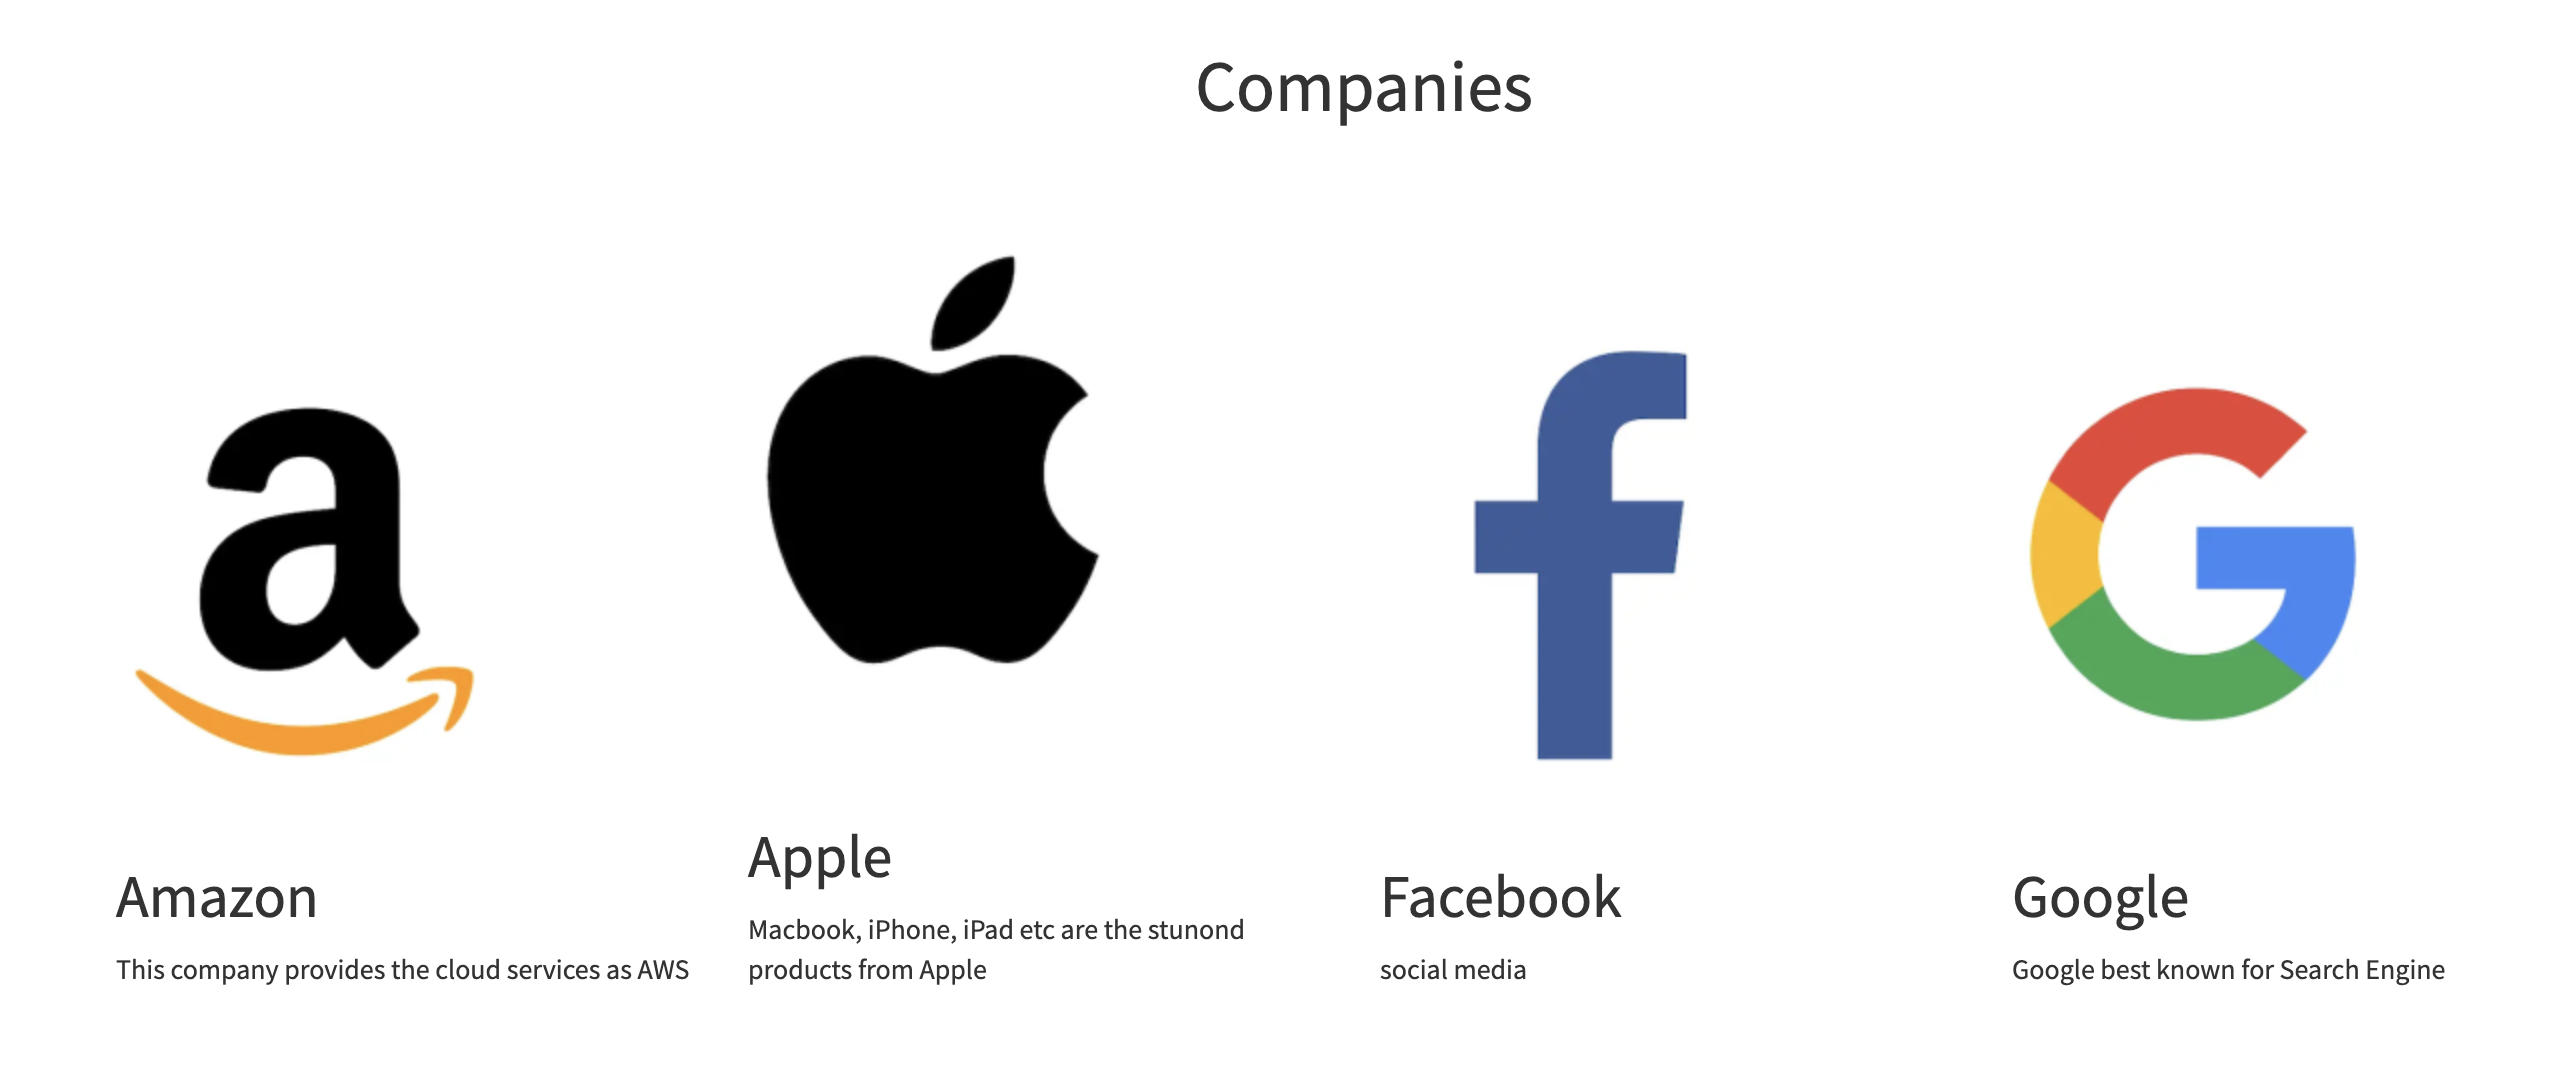
The final output will look like his
Quick Answer:
Sorting using stream required very less coding. see the sample below
List<CompanyTableEntity> companyTableEntities = companies.stream().sorted(Comparator.comparing(CompanyTableEntity::getName)).collect(Collectors.toList());
If you watch closely the sorted method in the stream API does the task, and The stream is running on the first list. There is a comparator defined inside the sorted method that defines on what basis the Company object needs to sort. Once sorted it is collected as a list and passed back to a new list
Create a RESTFull Service API to get the company information in Spring Boot
Step 1: Create the Spring Boot project

Step 2: Configure Database
I am using the Application.yml file. You can use application.properties if you wish to follow that
spring:
 datasource:
    url: jdbc:mysql://127.0.0.1:3306/sp1?allowPublicKeyRetrieval=true&useSSL=false
    username: root
    password: **@
    driver-class-name: com.mysql.jdbc.Driver
Step 3: Create the table ‘company_table ‘.DDL script below
create table company_table
(
id int auto_increment
primary key,
name varchar(100) null,
logo_url varchar(200) null,
category varchar(50) null,
subCategory varchar(100) null,
image varchar(100) null,
image_caption varchar(200) null,
about varchar(300) null,
constraint company_table_id_uindex
unique (id)
);
Insert Statements:
INSERT INTO sp1.company_table (id, name, logo_url, category, subCategory, image, image_caption, about) VALUES (1, 'Amazon', '/v1669446971/technology/Amazon.png', 'technology', 'cloud-computing', null, null, 'This company provides the cloud services as AWS');

INSERT INTO sp1.company_table (id, name, logo_url, category, subCategory, image, image_caption, about) VALUES (2, 'Apple', '/v1669446978/technology/Apple.png', 'technology', 'product', null, null, 'Macbook, iPhone, iPad etc are the stunond products from Apple');

INSERT INTO sp1.company_table (id, name, logo_url, category, subCategory, image, image_caption, about) VALUES (4, 'Google', '/v1669446971/technology/Google.png', 'technology', 'search-engine', null, null, 'Google best known for Search Engine');

INSERT INTO sp1.company_table (id, name, logo_url, category, subCategory, image, image_caption, about) VALUES (5, 'Facebook', '/v1669447767/technology/Meta.png', 'technology', 'product', null, null, 'social media');
Step 4: Create the controller, Service and Repository Classes
Repository and Entity Class:
public interface CompanyTableEntityRepository extends JpaRepository<CompanyTableEntity, Integer> {

}
Entity Class:
@Entity

@Table(name = "company_table", schema = "sp1", catalog = "")

public class CompanyTableEntity {

    private int id;

    private String name;

    private String logoUrl;

    private String category;

    private String subCategory;

    private String image;

    private String imageCaption;

    private String about;


//removed getter and setter,hashcode() and equals method for brevity

}
Service Class:
@Service

@Transactional

public class CompanyService {

   final CompanyTableEntityRepository companyTableEntityRepository;

    public CompanyService(CompanyTableEntityRepository companyTableEntityRepository) {

        this.companyTableEntityRepository = companyTableEntityRepository;

    }

    public List<CompanyTableEntity> findAll() {

        List<CompanyTableEntity> companies = companyTableEntityRepository.findAll();

        return companies;

    }

}
Controller Class:
@RestController
public class CompanyController {
final CompanyService companyService;
public CompanyController(CompanyService companyService) {
this.companyService = companyService;
}
@GetMapping("/companies")
public List<CompanyTableEntity> getCompanies(){
return companyService.findAll();
}
}
Step 5: Access the REST API using the postman client

Write to [email protected] if you need any help or need clarification.
How to sort using Stream API
Replace or Update the findAll method in the CompanyService with the below
public List<CompanyTableEntity> findAll() { List<CompanyTableEntity> companies = companyTableEntityRepository.findAll(); List<CompanyTableEntity> companyTableEntities = companies.stream().sorted(Comparator.comparing(CompanyTableEntity::getName)).collect(Collectors.toList()); return companyTableEntities;}
This will sort the company information based on the Company Name. You can see the change after executing in the postman.
Create an Angular Application to consume the RESTful Service from Spring Boot
We will se how to Create an Angular Application to consume the RESTful Service from Spring Boot
You ca start checking whether you have installed the node using the command
npm -v
Check angular installed or not,
ng version
Create app using the command below:
ng new CompanyApp --routing
set the CSS as the style sheet mechanism to use
install bootstrap:
npm install [email protected] –save
update style.css with the command below:
@import "~bootstrap/dist/css/bootstrap.css";
Update app.component.html
<div  class="container-fluid">

  <nav class="navbar navbar-expand-sm bg-dark navbar-dark">

    <ul class="navbar-nav">

      <li class="nav-item " style="padding: 5px">

        <a routerLink="view-companies" class="nav-link" class="btn btn-primary active" role="button" >View Companies</a>

      </li>

      <li class="nav-item" style="padding: 5px">

        <a  routerLink="add-student" class="nav-link" class="btn btn-primary active" role="button" >Add Company</a>

      </li>

    </ul>

  </nav>

  <router-outlet></router-outlet>

</div>
Update app.module.ts as below
import { NgModule } from '@angular/core';

import { BrowserModule } from '@angular/platform-browser';


import { AppRoutingModule } from './app-routing.module';

import { AppComponent } from './app.component';

import { CompaniesComponent } from './companies/companies.component';

import { HttpClientModule } from '@angular/common/http';


@NgModule({

  declarations: [

    AppComponent,

    CompaniesComponent

  ],

  imports: [

    BrowserModule,

    AppRoutingModule,

    HttpClientModule,

  ],

  providers: [],

  bootstrap: [AppComponent]

})

export class AppModule { }
ng generate service company
Then modify the service created company.service.ts as follows
import { Injectable } from '@angular/core';

import { HttpClient } from '@angular/common/http';

import { Observable } from 'rxjs';


@Injectable({

  providedIn: 'root'

})

export class CompanyService {

  private baseUrl = 'http://localhost:8185/';


  constructor(private http:HttpClient) { }


  getCompanyList(): Observable<any> {

    return this.http.get(`${this.baseUrl}`+'companies');

  }

}
here the baseUrl set as 'http://localhost:8185/’ because my restful service developed on Spring Boot is serving from this address.
Create a directory named and companies and Create the component using the command below
$ ng generate component companies
Next, open the companies.component.html and edit the code:
<div class="panel panel-default">

  <div class="panel-heading">

    <h1 style="text-align: center">Companies</h1><br>

  </div>

</div>

<div class="cards">

  <div class="card" *ngFor="let company of companies ">

    <div class="card__image-holder">

      <img class="card__image" src="https://res.cloudinary.com/dw8him6rb/image/upload/c_thumb,r_0,w_188{{company.logoUrl}}" alt="wave" />

    </div>

    <div class="card-title">

      <a href="#" class="toggle-info btn">

        <span class="left"></span>

        <span class="right"></span>

      </a>

      <h2 style="text-align: center">

        {{company.name}}

      </h2>

    </div>

    <div class="card-flap flap1">

      <div class="card-description">

        {{company.about}}

      </div>

    </div>

  </div>

</div>
This is to list the company details in the bootstrap card format
Update the companies.component.ts to consume the Resftul service
import {Component, OnInit} from '@angular/core';

import {CompanyService} from "../company.service";

import {Company} from "../company";

@Component({

  selector: 'app-companies',

  templateUrl: './companies.component.html',

  styleUrls: ['./companies.component.css']

})

export class CompaniesComponent implements OnInit {

  constructor(private companyService: CompanyService) {

  }

  companies: Company[] | undefined;

  ngOnInit(): void {

    this.companyService.getCompanyList().subscribe(data => {

      console.log(data);

      this.companies = data;

    })

  }

}
** Angular Live Development Server is listening on localhost:4200, open your browser on http://localhost:4200/ **

Company List in sorted order : Frontend View
Because the change is in the REstful service we don't need to make any change in the Angular. Once the changes are completed in the Restful service created you can refresh the page and can see the result as follows
Conclusion
As we see in this post, sorting an ArrayList is an easy task after the introduction of Stream API in Java 8